
EYELIDS · ILLUSTRATED 3D RECOVERY
Lateral Canthopexy (Lower-Lid Support): before & after and recovery stages
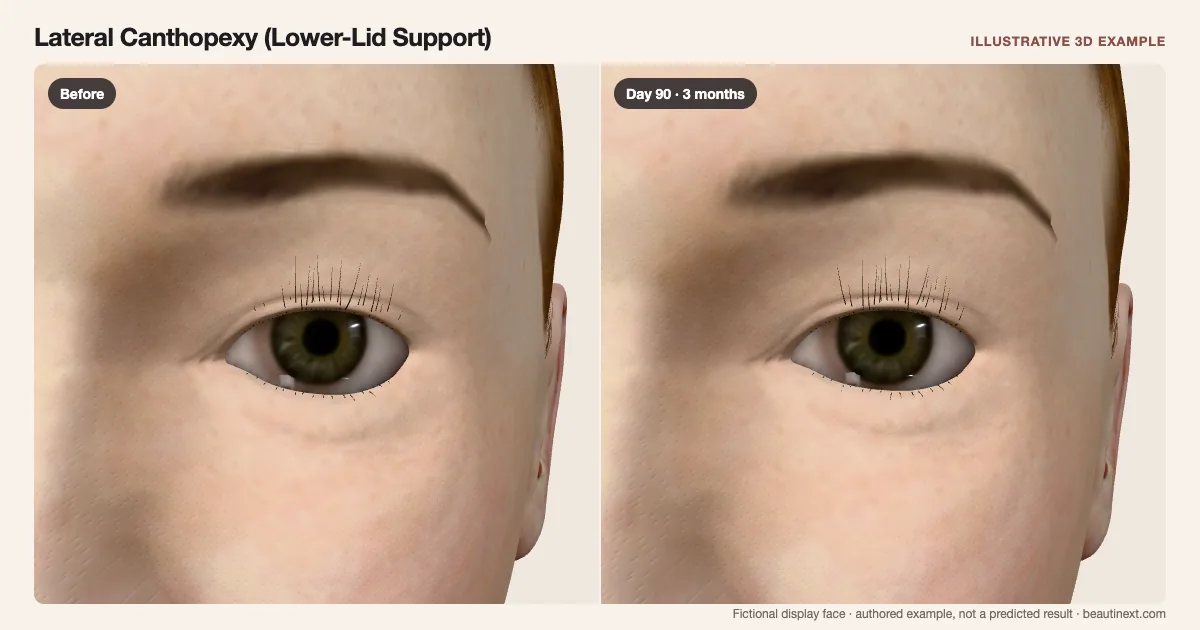
Compare a mildly lowered lower-lid reference with partial support as temporary fullness fades.
SUMMARY
What this example shows
A mildly lowered fictional lower lid receives partial support while the existing eye corners and upper lid keep their positions. Temporary fullness and color settle around that supported contour. This surface example does not reconstruct internal fixation, assess lid laxity or predict eye comfort.
STAGE BY STAGE
Lateral Canthopexy (Lower-Lid Support) recovery stages
Lower-lid reference
The same mildly lowered fictional lower border stays beneath every stage.
Starting eye corners and the upper lid retain their positions; no laxity is inferred from the selected face.
First few days: Support beneath swelling
Puffiness and color overlap the supported lower border.
This is a closed-surface illustration; external strips, incisions and internal sutures are not displayed.
Around 2 weeks: Lower border emerging
Less temporary fullness makes the same support easier to compare.
Visible settling does not measure fixation strength, eye comfort or readiness for activity.
Around 3 months: Later support comparison
The lower border stays slightly higher than the starting reference, with some original descent remaining.
This date is an example comparison, not a personal recovery deadline.
TIMELINE
Day-by-day checkpoints in the 3D model
The simulator interpolates between these authored checkpoints. They describe the illustration, not measured clinical averages.
The same mildly lowered fictional lower border stays beneath every stage.
Temporary fullness overlaps the supported lower-lid position.
Local puffiness and discoloration partly obscure the lower border.
The illustrated color response fades while fullness remains.
Less swelling makes the same supported position easier to see.
A small amount of temporary fullness remains in this example.
The partial lower-lid support remains; this is not a recovery deadline.
INDIVIDUAL DIFFERENCES
How recovery can vary
Timing and response
This example retains the corner junctions and does not lengthen the eye opening. The contour slider changes illustrated support, not suture tension or surgical planning. Skin removal and fat repositioning are separate examples.
Longer term
Scars, comfort and eye closure require separate assessment. Existing anatomy, technique and combined procedures affect the actual course; the model does not predict them.
EVIDENCE NOTES
Sources and limitations
- ASPS: Canthopexy and canthoplasty
Distinguishes reinforcement of existing canthal structures from reconstruction. It does not calibrate this fictional lid position or its daily course.
- AAO EyeWiki: Lower-lid support during blepharoplasty
Describes canthopexy maintaining or elevating the lower-lid position. The surface display does not reproduce sutures, internal fixation or combined surgery.
- NHS: General eyelid recovery context
General eyelid guidance describes early puffiness, bruising and longer scar changes. This is context, not a measured isolated-canthopexy timeline.
KEEP COMPARING
Other eyelids examples
- Subbrow Lift (Upper-Lid Skin)
- Upper Blepharoplasty
- Eyelid Revision (Lowering a High Crease)
- Eyelid Revision (Asymmetric Crease)
- Double Eyelid Surgery
- Partial-Incision Double Eyelid Surgery
- Buried-Suture Double Eyelid Surgery
- Ptosis Repair (Upper-Lid Height)
- Epicanthal Fold Restoration
- Epicanthoplasty (Inner Corner)
- Lateral Canthoplasty (Outer Corner)
- Lower-Lid Fat Repositioning
- Lower Blepharoplasty
- Under-Eye Fat Transfer
- Tear-Trough Filler
- Crow’s Feet Botox (Anti-Wrinkle Injections)
This illustration is not medical advice, diagnosis, a treatment recommendation or a prediction of personal results. Swelling, color, contour and dates are authored examples on a fictional face. BeautiNext is not a clinic; your treating team’s assessment and written recovery plan take priority.